
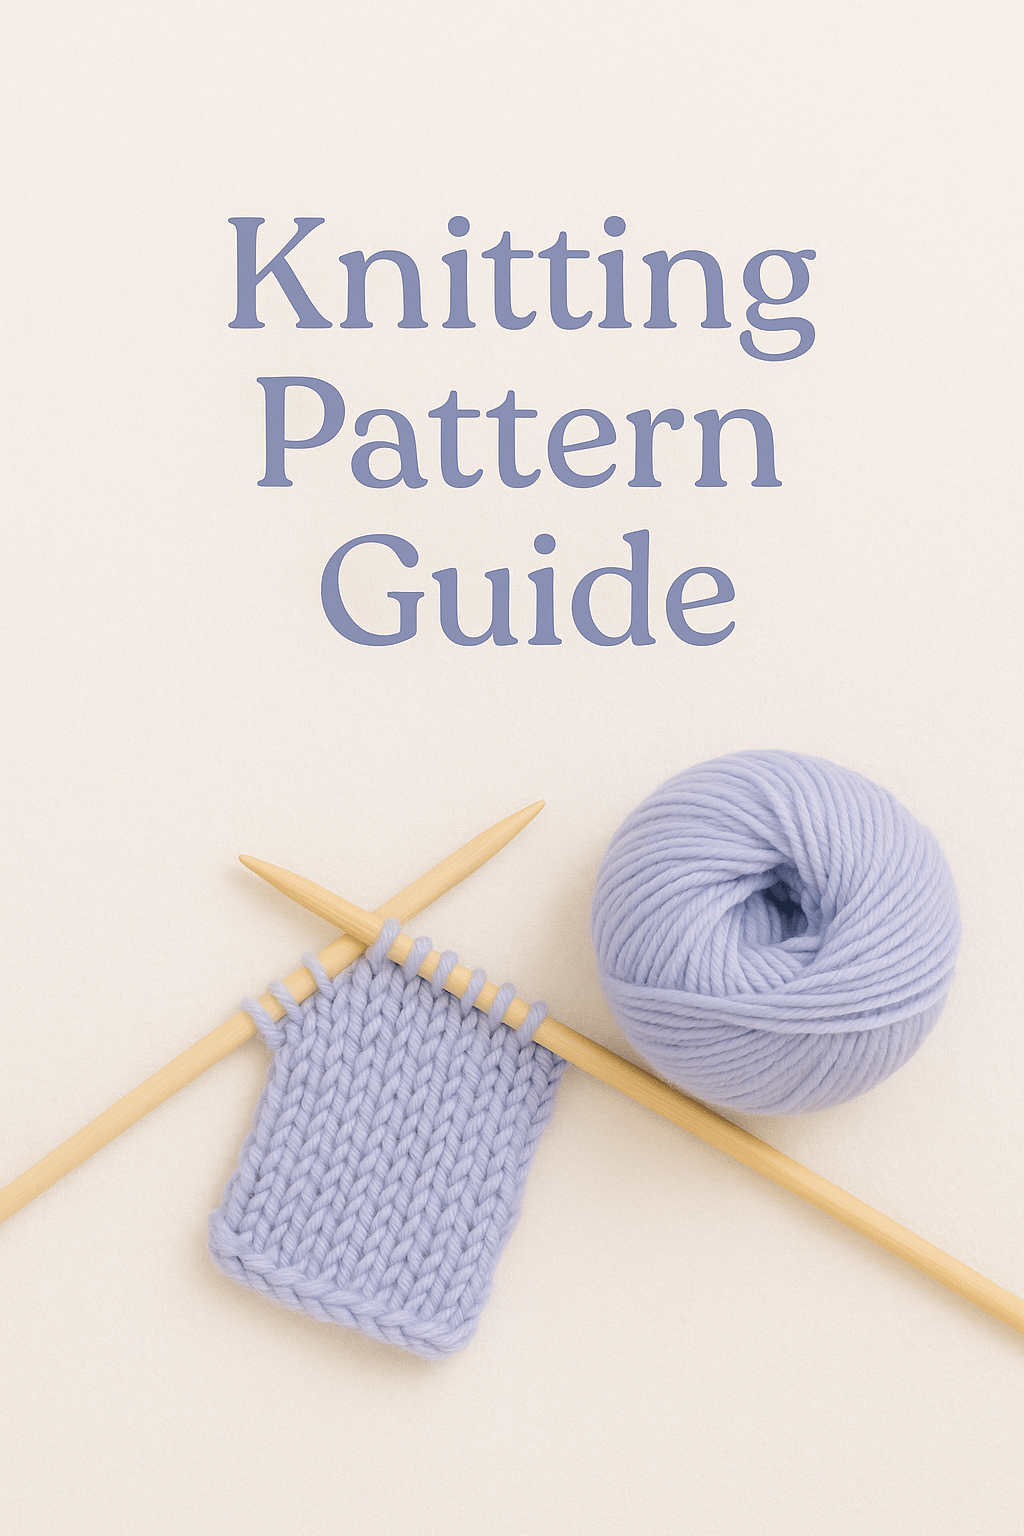
Have you ever opened a knitting pattern and felt completely overwhelmed by the abbreviations, numbers, and strange symbols? You are absolutely not alone! In this beginner-friendly guide, I’ll walk you through how to read a knitting pattern step by step, so you can cast on with confidence and create something cool!
If you’ve ever opened a knitting pattern and felt completely overwhelmed by the abbreviations, numbers, and strange symbols — you’re not alone!
✨ Want a printable to help you follow along? Grab my knitting project planner on Etsy Grab my knitting project planner on Etsy! – Perfect for beginners who wanna stay organized!
In this beginner-friendly guide, I’ll walk you through how to read a knitting pattern step by step, so you can cast on with confidence
Basic Parts of a Knitting pattern
Understanding the different sections of a knitting pattern helps you feel in control before you even cast on.
Even the simplest pattern usually follows a familiar structure. Once you know what to look for, you’ll find that most patterns speak the same “language.” Here’s a breakdown of the key parts:
🧶 Pattern Name & Designer
The title of the pattern and the person who created it. Sometimes you’ll also find inspiration photos or a link to their website or social media. They can be quite helpful!
🧵 Materials
This section lists everything you need for the project:
- Yarn – type, weight, color, and how much (usually in skeins or grams).
- Needles – size and type (straight, circular, double-pointed).
- Other tools – like stitch markers, tapestry needle, cable needle, etc.
💡 Tip: If you’re using different yarn than the pattern suggests, make sure it’s the same weight and fiber type when possible.
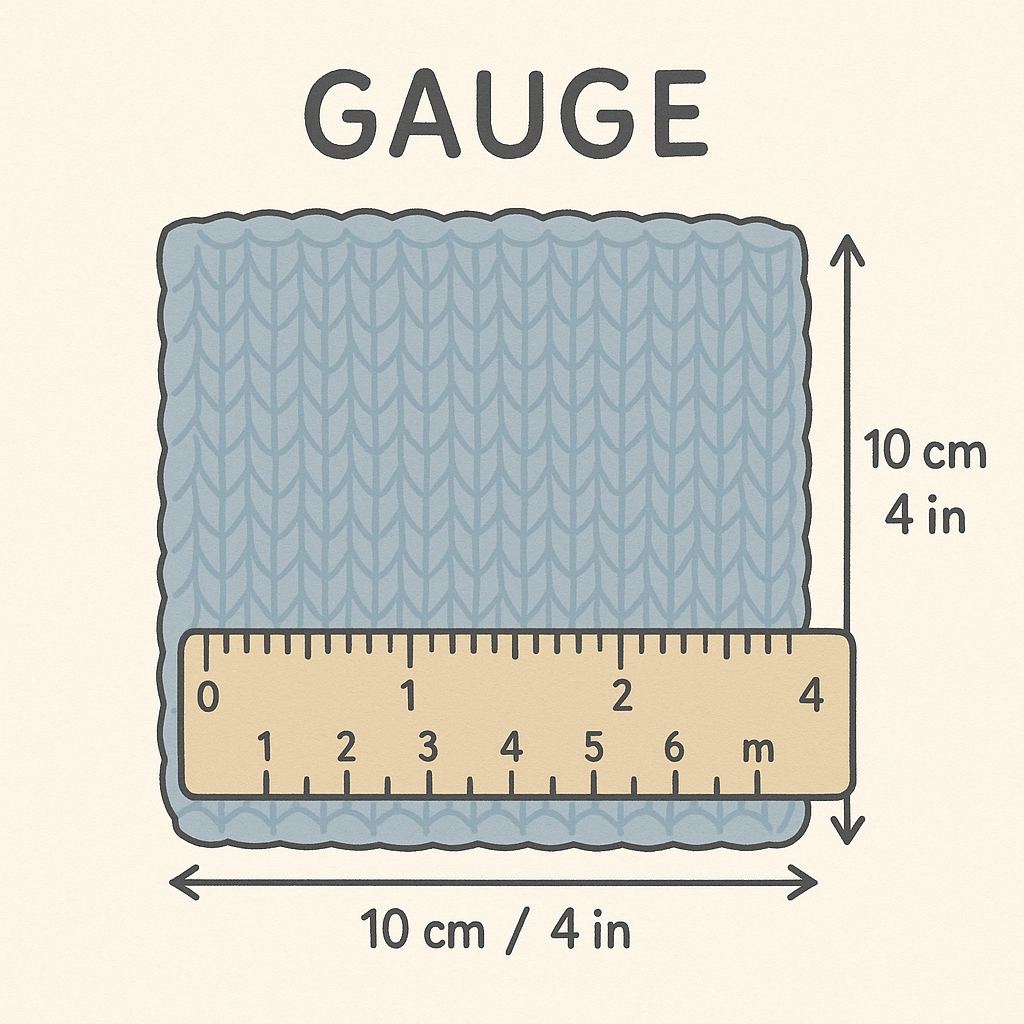
📐 Gauge (Tension)
What is a knitting gauge? A gauge is your project’s DNA – it determines how everything fits together.
If your gauge is off, your project might end up too small, too big, or just not quite right.
In knitting, gauge refers to the number of stitches and rows that fit into a 10 cm / 4 inch square using a specific yarn and needle size. It’s usually written like this:
Gauge: 20 sts x 28 rows = 10 cm in stockinette stitch
This means that when you knit a square of fabric in stockinette stitch (knit one row, purl one row), you should have 20 stitches across and 28 rows down in a 10 cm square.
🧶 Why Gauge Matters
- Fit: For garments like sweaters and hats, incorrect gauge can lead to disappointing sizing.
- Yarn usage: A tighter or looser gauge affects how much yarn you’ll need.
- Structure: Fabric that’s too loose may sag, while overly tight fabric can feel stiff.
Even if you’re using the same yarn and needles as the pattern recommends, your personal knitting tension might be different – and that’s okay! I am bit a tight tension knitter myself hahaha
🧪 How to Check Your Gauge
- Cast on enough stitches to make a square at least 12–15 cm wide.
- Work in the required stitch pattern (usually stockinette) for about 10–12 cm.
- Lay the swatch flat without stretching it, and measure 10 cm across.
- Count how many stitches and rows fit within that area.
Adjust if needed:
- If you have too few stitches, it’s too loose → try a smaller needle.
- If you have too many stitches, your fabric is too tight → try a larger needle.
💡 You don’t always need to swatch — but if you’re making something that needs to fit, it’s worth the extra step!
📏 Sizes & Measurements
Every knitting pattern is designed to fit certain sizes — and this section tells you which ones.
Most patterns include a list of available sizes, usually labeled something like this:
Sizes: XS (S, M, L, XL, 2XL)
Finished bust: 81 (86, 96, 106, 116, 127) cm
These numbers tell you how large the final garment will be once it’s finished and blocked (not your body measurements, but the actual item). That’s why this section is so helpful — it gives you something to compare to your favorite sweater or hat at home.
💡 Tips for beginners:
- Highlight or circle the numbers for your size before you begin, so you don’t get confused.
- If you’re unsure which size to pick, check the “finished measurements” – not just the label (S, M, L).
- Compare the measurements to a similar item you already own and like the fit of.
🧩 Abbreviations
Knitting patterns are full of abbreviations that help keep instructions short and easy to follow — once you understand the shorthand, it all starts to make sense!
Most patterns include a key to explain the abbreviations they use, but it’s helpful to get familiar with the most common ones. Here’s a quick reference guide you can come back to anytime:
| Abbreviation | Meaning |
|---|---|
| k | knit |
| p | purl |
| st / sts | stitch / stitches |
| yo | yarn over |
| k2tog | knit two together |
| p2tog | purl two together |
| sl | slip (a stitch) |
| rep | repeat |
| inc | increase |
| dec | decrease |
| RS / WS | right side / wrong side |
| CO | cast on |
| BO | bind off (cast off) |
| tbl | through back loop |
| pm | place marker |
| sm | slip marker |
📜 Instructions
This is the heart of the pattern — the step-by-step directions that guide you through the project, row by row or round by round.
Knitting instructions are usually written using abbreviations and shorthand to save space. At first, it might look like code, but don’t worry — once you learn how to read it, it becomes second nature.
Here’s an example of what you might see:
Example 1:
Row 1: K2, p2 — repeat to end.
Row 2: Knit all stitches (The pattern tell you what kind of technique to use)
Here’s how to read it:
- K2 = knit 2 stitches
- P2 = purl 2 stitches
- “… repeat to end” means you repeat everything between the asterisks across the whole row.
Example 2: a more complex one
Row 1 (RS): K5, *p2, k2; rep from * to last 5 sts, k5
Row 2 (WS): P5, *k2, p2; rep from * to last 5 sts, p5
Here’s how to read it:
- RS and WS stand for Right Side and Wrong Side — this helps you keep track of which side of your project you’re working on.
- Start by knitting 5 stitches, then begin the repeat section marked with *.
- The part between * and ; is the pattern repeat: purl 2, knit 2.
- You repeat that sequence until you have 5 stitches left, then knit those final 5 stitches.
This kind of instruction is common in ribbing patterns or borders, where the first and last few stitches are kept in a clean edge, and the center section repeats across the row.
💡 Pro tip: When you see “rep from * to last X sts,” it means to stop before the end and follow different instructions for the final stitches.
Symbols & Structure
Knitting instructions often include:
- Asterisks (*): Mark sections to repeat
- Parentheses ( ): Group instructions together
- Brackets [ ]: Used for repeated pattern sets or alternative instructions
- Bold or italics: Emphasize specific actions or size-based variations
Example: (K2, P2) 3 times, K4
→ Means: Do the part in parentheses three times, then knit 4.
🧼 Finishing
Once the knitting is done, it might be tempting to stop there — but don’t skip the finishing steps! This is where your project goes from “just off the needles” to polished and professional.
Here are the most common finishing tasks you’ll find in a pattern:
- Blocking – Gently shaping your project using steam or water to even out stitches and achieve the correct size.
(Yes, it really makes a difference!) - Seaming – If your project was knit in pieces, this is where you sew them together, often using mattress stitch.
- Weaving in ends – Use a tapestry needle to secure yarn tails into the fabric so they don’t unravel.
- Adding details – Think buttons, pompoms, zippers, or embroidery, whatever your pattern calls for.
Even the simplest scarf looks better with clean edges and neatly hidden yarn tails. Take your time with this stage, it’s worth it.
Thank you for taking your time reading this beginners guide, hopefully you feel enlightned
Thank you so much for reading!
I hope this guide made knitting patterns feel a little less intimidating and a lot more fun. If you have any questions or just want to share your latest project, feel free to leave a comment below — I’d love to hear from you!
Check out my latest posts:
- Springtime on My Needles: Soft Stripes & Happy Colors
- No Words Sunday
- Beginner’s Guide to Reading a Knitting Pattern
- Cozy Slippers on the Way
- Planning a New Project: Summer Cardigan in Royal Blue
And my socials:

Leave a comment